ATOS Professional

3D Scanning and Inspection Software

ATOS Professional is a process-reliable software solution that controls ATOS 3D scanners, produces precise 3D surface data, and offers complete inspection and reporting functionalities in one software package.

The software includes all GOM Inspect Professional functionalities, making ATOS Professional a complete parametric and traceable measuring and evaluation software for dimensional analyses.
Certified Inspection Software

To ensure precise measuring accuracy, the GOM software packages have been tested and certified by the two institutes PTB and NIST. The accuracy of the inspection software is confirmed by the comparison of the results obtained with the reference results. The GOM software has been placed in Category 1, the category with the smallest measurement deviations.
Feature Highlights
Actual-nominal comparison

The calculated polygon mesh describes free-form surfaces and standard geometries. These can be compared with the drawing or directly with the CAD data set with the help of a surface comparison. A 3D analysis of surfaces as well as a 2D analysis of sections or points can be implemented in the software. CAD-based generation of standard geometries such as lines, planes, circles or cylinders is also possible.
Alignment

The GOM 3D software contains all standard alignment functions. These include RPS alignment, hierarchical alignment based on geometric elements, alignment in a local coordinate system, using reference points as well as various best-fit methods such as global best-fit and local best-fit. Customers can also use their own specific alignments, e. g. for turbine blades, such as balanced beam or equalized nested.
Curve-based inspection

On the basis of full-field digitalized data, construction functions can be applied for curves and their characteristics can be visualized. Edge curves can, for example, be recorded, radii and design lines can be analyzed and spline curves can be created. Curve-based inspection is also used to evaluate gap and flush.
Trend, SPC and deformation analysis

The parameter-based approach of the GOM software enables trend analysis for multiple evaluation, e. g. for statistical process control (SPC) or deformation analysis. As a result, several parts or stages within a single project can be evaluated in a full-field manner, and statistical analysis values such as Cp, Cpk, Pp, Ppk, Min, Max, Avg and Sigma can be determined.
GD&T analysis

In contrast to the pure dimension analysis, the GD&T analysis focuses on the functional aspect of the part. Corresponding GD&T elements are, for example, planarity, parallelism or cylindricity. Both, a standardized analysis of 2-point distances and of the maximum material requirement as well as the position tolerance in local datum and coordinate systems are possible.
Airfoil inspection

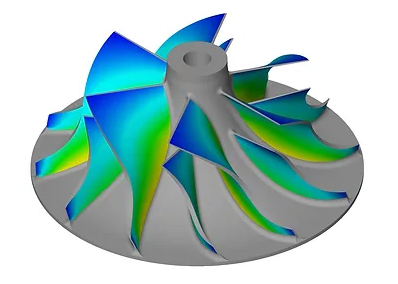
Special functions are available for the quality control of turbine blades, which can be used, for example, to inspect the profile mean line, profile chord line or profile thickness of turbine blades on the basis of 2D sections. The profile centroid, profile radii and profile twists can also be calculated.
Reporting

The reporting module enables users to create reports containing snapshots, images, tables, diagrams, texts and graphics. The results can be visualized and edited in the user interface as well as exported as a PDF file. Templates are reusable, and each scene saved in a report can be restored in the 3D window.